How to manage the categories on the SmEx: Smart Expense Manager
To open the Category screen, you can choose 1 of 2 ways:
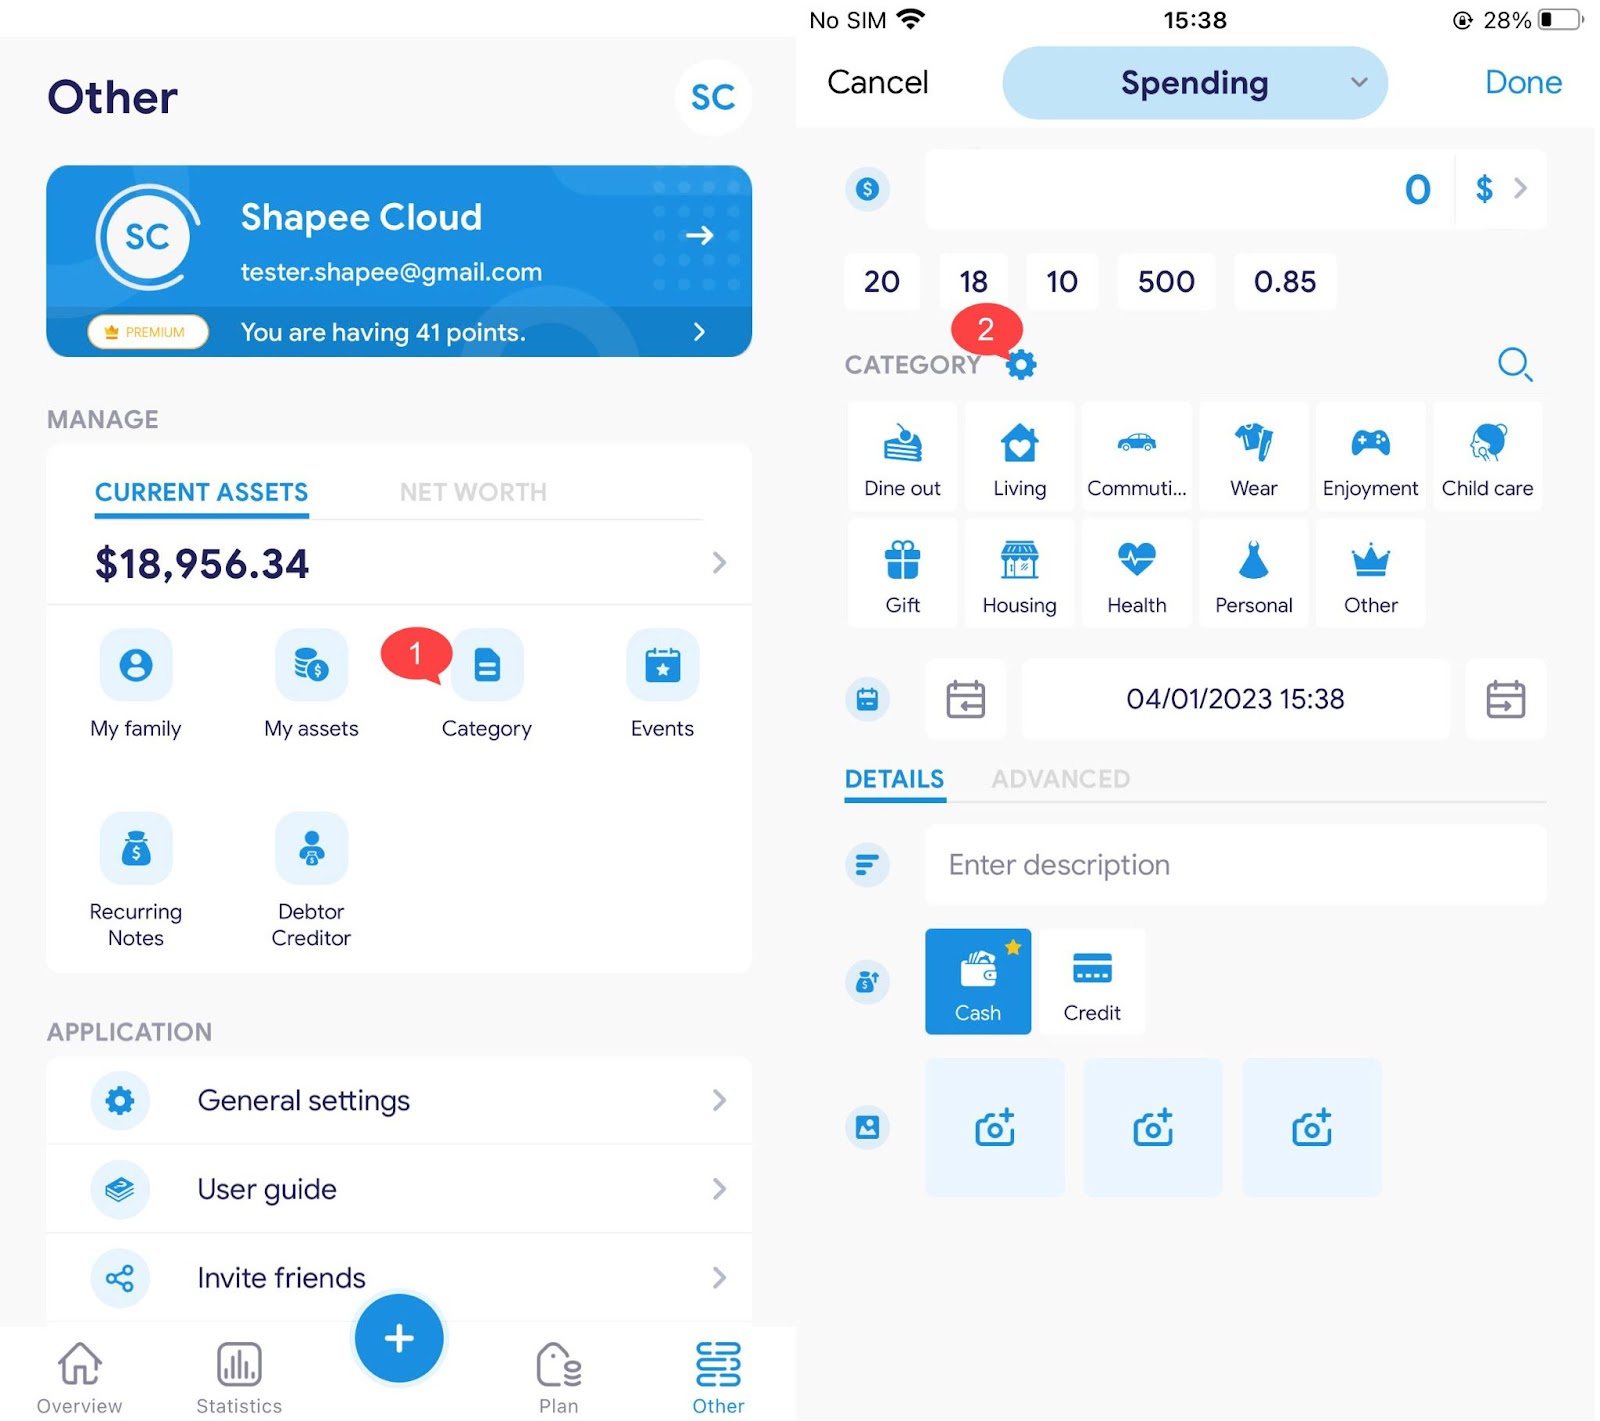
Method 1: Select “Category” in the "Other" section.
Method 2: Select the gear icon at the adding new spending screen.
A. For spending categories:
- Create the main categories:
After the “Category” screen opens, you can add details as required:
1. Click the (+) sign to add a new spending category.
2. Enter a name for the new category.
3. Choose a color for the category icon.
4. Select the icon for the new category.
5. Click “Done” to finish creating a new category.
6. After creating, the new category is displayed as shown.
7. You can swipe a category from right to left to edit and delete a category.

B. Add sub-categories:
- You can add sub-categories for large categories by following these steps:
1. Tap the category for which you want to create a sub-category.
2. Tap the (+) sign.
3. Add a name for the sub-category.
4. Select the priority for the sub-category.
5. Click the (?) icon for priority information (or read the note below).
6. Click “Done” to complete the sub-category creation.
7. A sub-category after creation is displayed as shown.
8. You can swipe a category from right to left to edit and delete a subcategory.

Note:
What is a priority?
Low priority: The system will automatically make separate statistics of these expenses in the Statistics section, the expenses in the low priority sub-category are those that are not really necessary, you can consider spending to save money.
See also: Spending - Income Statistics on SmEx: Smart Expense Manager
High priority: This is an essential expenditure to serve your living needs.
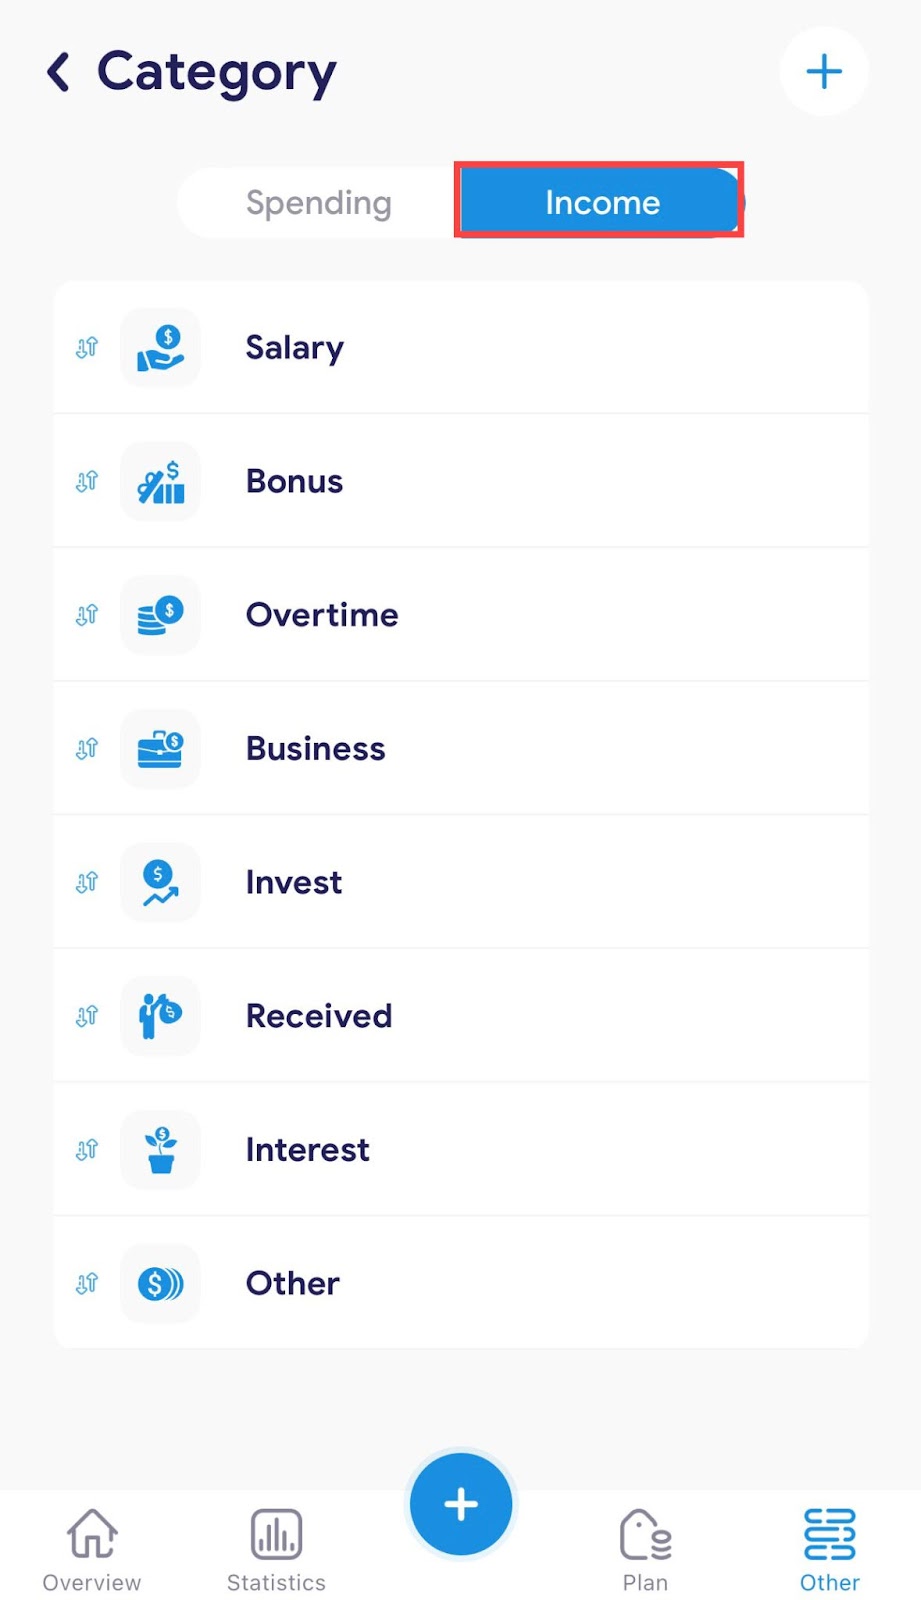
C. For income category:
You can click on the “Income” tab as shown below and do the same thing as adding a spending category.
(Note: For incomes, you can only create categories, no sub-categories, and priorities for incomes.)